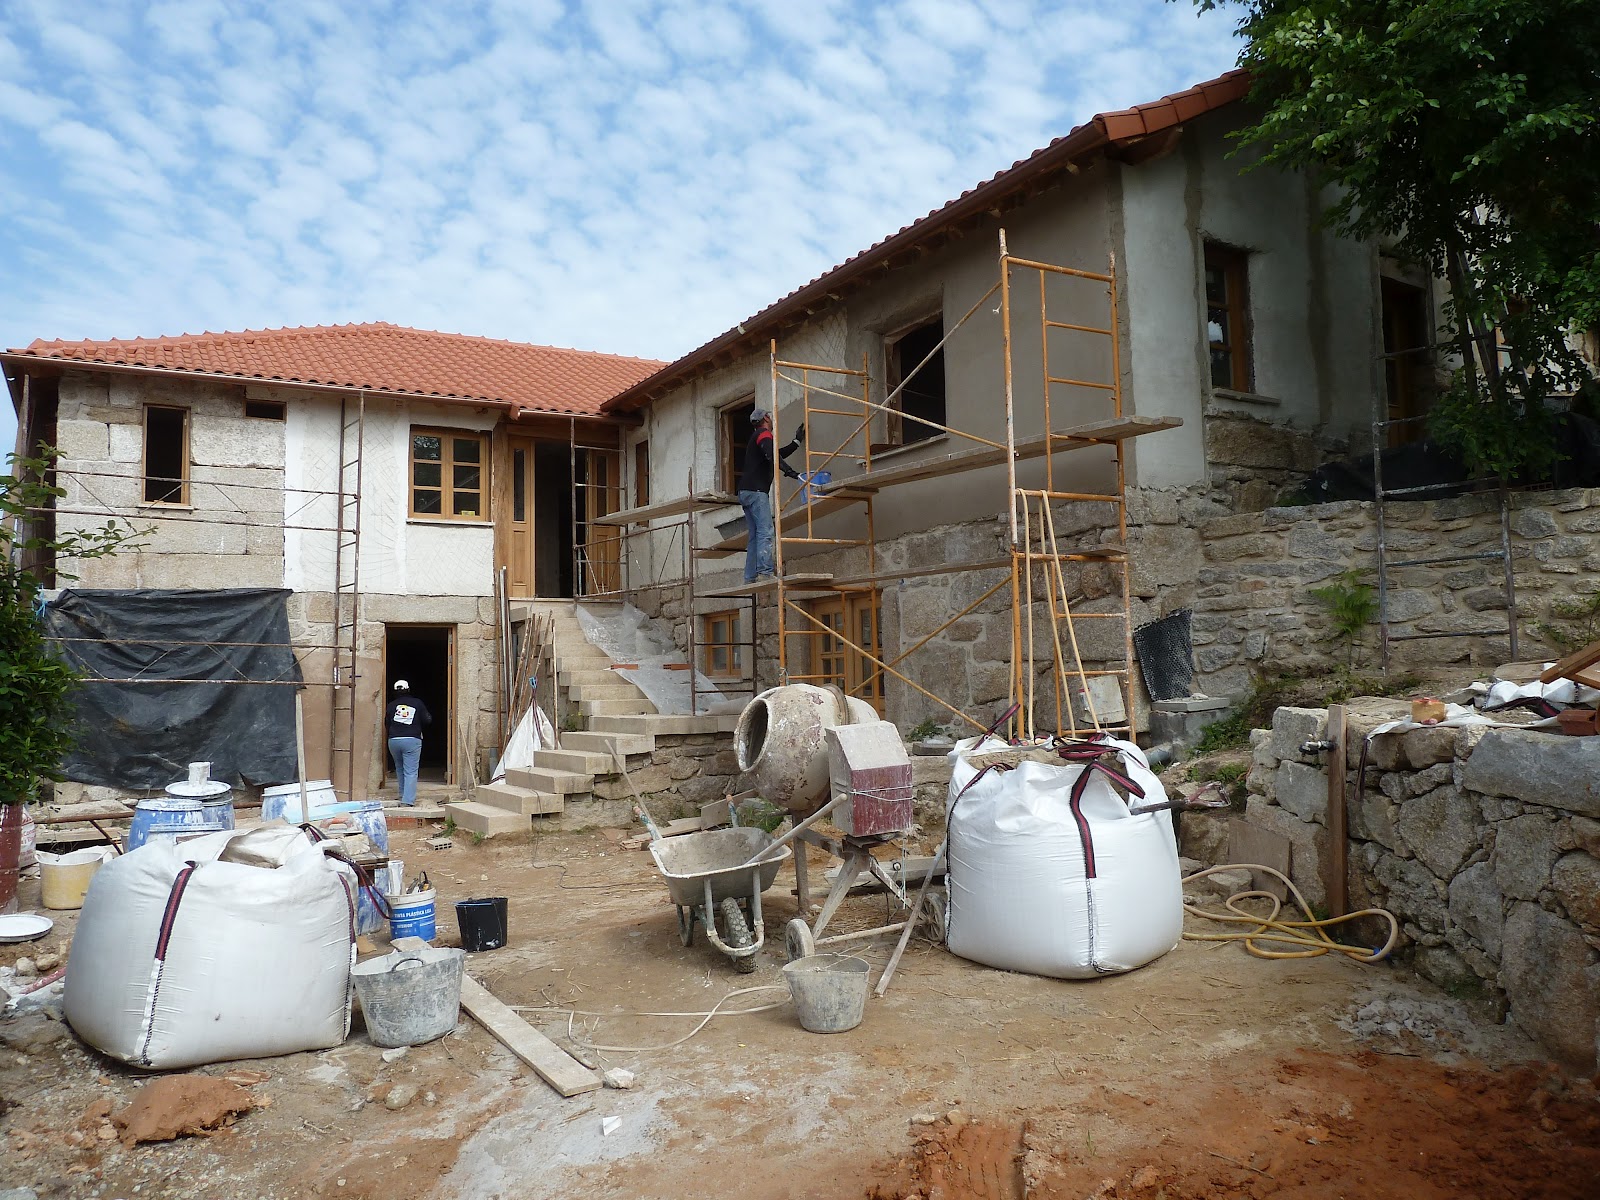
So, this weekend we embarked on the final external plaster of the straw bale bit of the house. We put a base coat on a year or so ago, made up of lime putty, sand and chopped straw, so it was water-tight. But we needed the final coat on so we could be done with the scaffolding and wrap up things outdoors before our building liscence (planning permission) expires in a couple of weeks..
 |
| Paulo getting into those window edges.. |
So the maestro of the day is Paulo, a local builder and his wife Armanda. They work weekends only on jobs like this. But had never seen nor heard of a lime plaster. Everyone here uses a cement-based plaster, which is a lot easier to prepare, etc. but doesn't breath at all. It's kind of like wearing a really heavy plastic jacket on a warm day. You'd get wet from the inside right? (cos your sweatiness couldn't get out). Well buildings are the same - they breathe; we breath in them, vapours abound in houses, from people, kitchens, showers and so on. Without breathing walls we need mechanical ventilation and there are few of these that actually work properly. So it just seems nuts that people don't use lime more. Lime breathes, yet is waterproof. The equivalent of a gortex jacket...
Anyway, here's some photies
 |
| A quarter in on the south wall. |
 |
Armanda - a fair hand at plastering herself!
|
 |
Where the plaster meets the wood we
stapled and nailed on these plastic meshes. We tried to use bamboo strips last time, but they were kinda bouncy.
This stuff seems to work well.. So far... |
 |
Hession as shade to prevent the lime plaster going off too fast. It's supposed to carbonate, absorbing CO2 from the atmosphere. Not dry like cement, so you have to keep it shaded and moist, for about two weeks
after it's been applied. |
 |
| Paulo doing his magic around the corners of windows |
 |
| Getting there. With shade up and moistened down with regular water spraying was nice and cool in there.. |
 |
| This taken from the other side of the house - not for rendering. Just finished the pointing - again with lime mortar |
 |
Nikita's applying a bit of hydraulic lime to the exposed stone bit
we also plastered, to help the final coat adhear better. And not have
all its water sucked in by the stone.. I guess we'll find out soon if it worked.. |
 |
| Cheeta chilling for a mo |
 |
So here's where we slaked the lime (quicklime / cal viva). This taken in Feb, when we cleared out the last lot and put in an extra 1200 kgs, added a further 3,000 kgs or so of water, and let it sit for at least three months, so it's properly hydrated and can be used for plastering, pointing and painting.
|